Follow these step-by-step instructions to set up your Office 365 email on your iPhone using the Outlook app:
Step 1: Download and Install the Outlook App
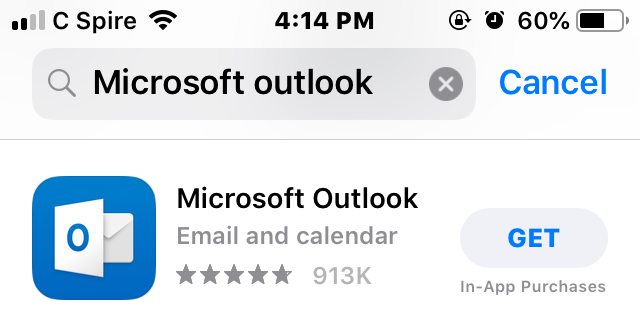
- Open the “App Store” on your iPhone.
- Search for “Microsoft Outlook” in the search bar.
- Download and install the Microsoft Outlook app on your device.
Step 2: Open the Outlook App
- Once the installation is complete, tap the “Outlook” icon on your home screen to open the app.
Step 3: Get Started
- On the welcome screen, tap “Get Started” to begin the email setup process.
Step 4: Enter Your Email Address
- Enter your full Office 365 email address in the provided field.
- Tap “Add Account” or the arrow icon to proceed.
Step 5: Enter Your Office 365 Password
- Enter the password associated with your Office 365 email address.
- Tap “Sign in” or the arrow icon to continue.
Step 6: Grant Permissions (if prompted)
- If prompted, grant the required permissions by tapping “Accept” or “Yes.”
Step 7: Customize Your Inbox (Optional)
- The Outlook app may offer a brief tutorial on customizing your inbox, such as choosing a focused inbox view or swiping actions.
- You can follow the tutorial or skip it by tapping “Skip” or the arrow icon.
Step 8: Add Another Account or Go to Inbox
- If you would like to add another email account, tap “Let’s Do It!” and follow the steps again.
- If you are finished adding accounts, tap “Maybe Later” to proceed to your inbox.
Step 9: Verify Email Setup
- You should now see your Office 365 email account in the Outlook app.
- Test the functionality by sending a test email or checking your calendar and contacts.
Your Office 365 email account is now set up on your iPhone using the Outlook app, and you can send and receive emails, sync your calendar, and manage your contacts within the app. If you encounter any issues or need further assistance, please contact your IT helpdesk.